ShopDreamUp AI ArtDreamUp

Deviation Actions


Suggested Deviants


Suggested Collections


Description
Edit: Fixed typos  (Smile)")
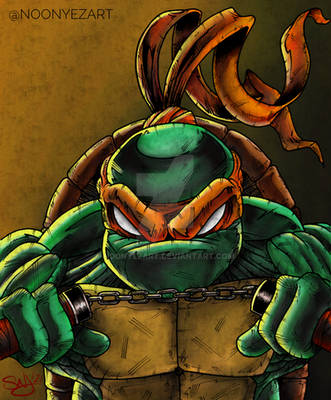
Some-one asked me how I got the slightly painted look to my pictures. And since It's a little hard to explain simply with text here is a tutorial for her as well as any-one else who feels they'd like to try this out 8) I happened to have a Mikey doodle lying around I wanted to submit but which wasn't really a nice big shaBANG picture, so he was the perfect subject to use for this (Despite the fact that I really wanted to use Raph for this tut.. oh well)
I hope this helps!
Colour Adjustment Tutorial --> [link]
Brush basics --> [link]
Image size
890x5890px 1.3 MB
© 2009 - 2024 C-Puff
Comments16
Join the community to add your comment. Already a deviant? Log In
This is really helpful! ") I had a question though. When I merged the adjustment layer with my flat layer, instead of everything staying gray, it reverted back to it's colored form. I'm not sure what I did wrong.
I had a question though. When I merged the adjustment layer with my flat layer, instead of everything staying gray, it reverted back to it's colored form. I'm not sure what I did wrong. 